
Create a PostgreSQL Balancers

𝗟𝗮𝘆𝗼𝘂𝘁 𝘀𝗲𝗰𝘁𝗶𝗼𝗻
In the previous demo, we successfully created a Backup for our cluster.
So now, it is time to explore the last part of the Inventory area - Balancers.
You need to navigate to the Inventory area in the right side of the Layout section.
Click on the Balancers section and explore this area.
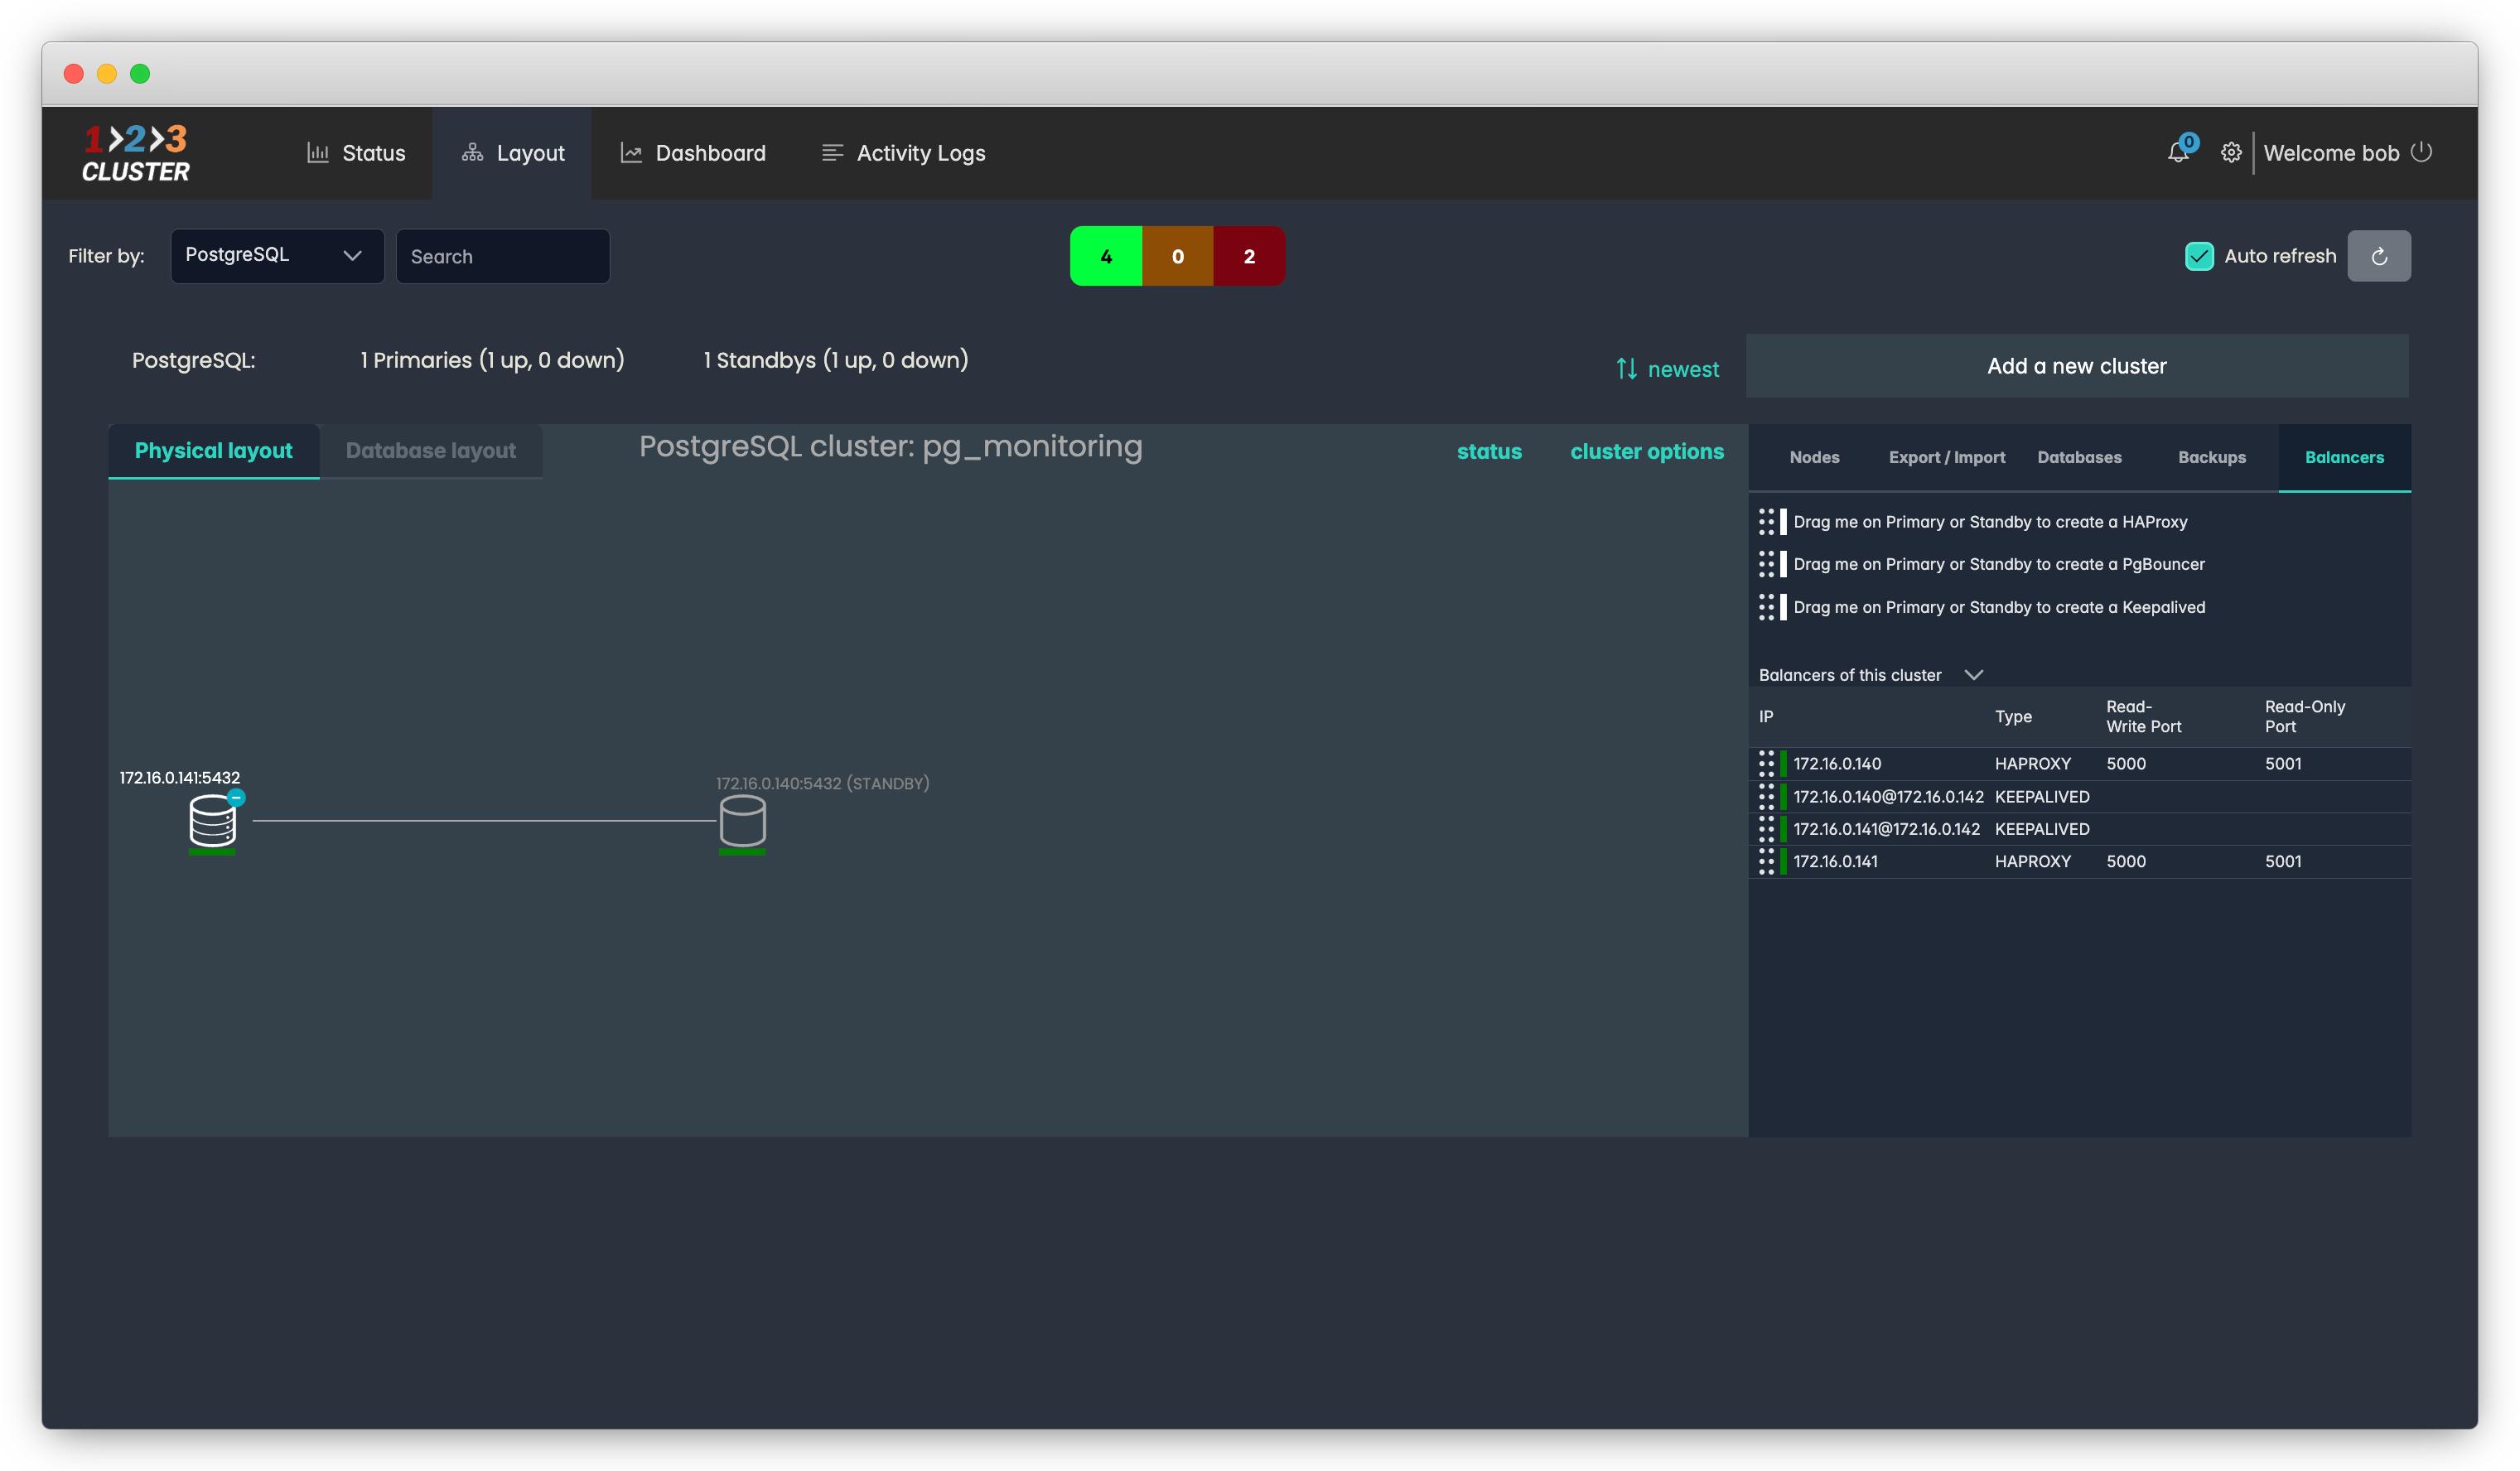
We have 3 types of Balancers available for installation:
- HAproxy
- PgBouncer
- Keepalived
.png)
Lets start with HAProxy balancer.
To add a new Balancer, drag and drop the chosen Balancer icon onto the primary Node.
.png)
A new window will appear. You can install your Balancer on the whole Cluster or on one Node only.
.png)
Choose the installation source: Network or Local repository.
Choose the Ports and validate them by the Check button.
.png)
Click on the Rest API icon will generate a code you can later use in automation.
.png)
Select Submit to finalize your installation.
Drag and drop the PgBouncer icon onto primary Node.
The installment process is the same, with minor differences.
You can select various Pool modes and set the exact Number of connections.
.png)
Select Submit to finalize your installation.
Drag and drop Keepalived icon onto the primary Node.
The installment procedure will have a minor differences.
You have an option to set a Virtual IP for this Balancer.
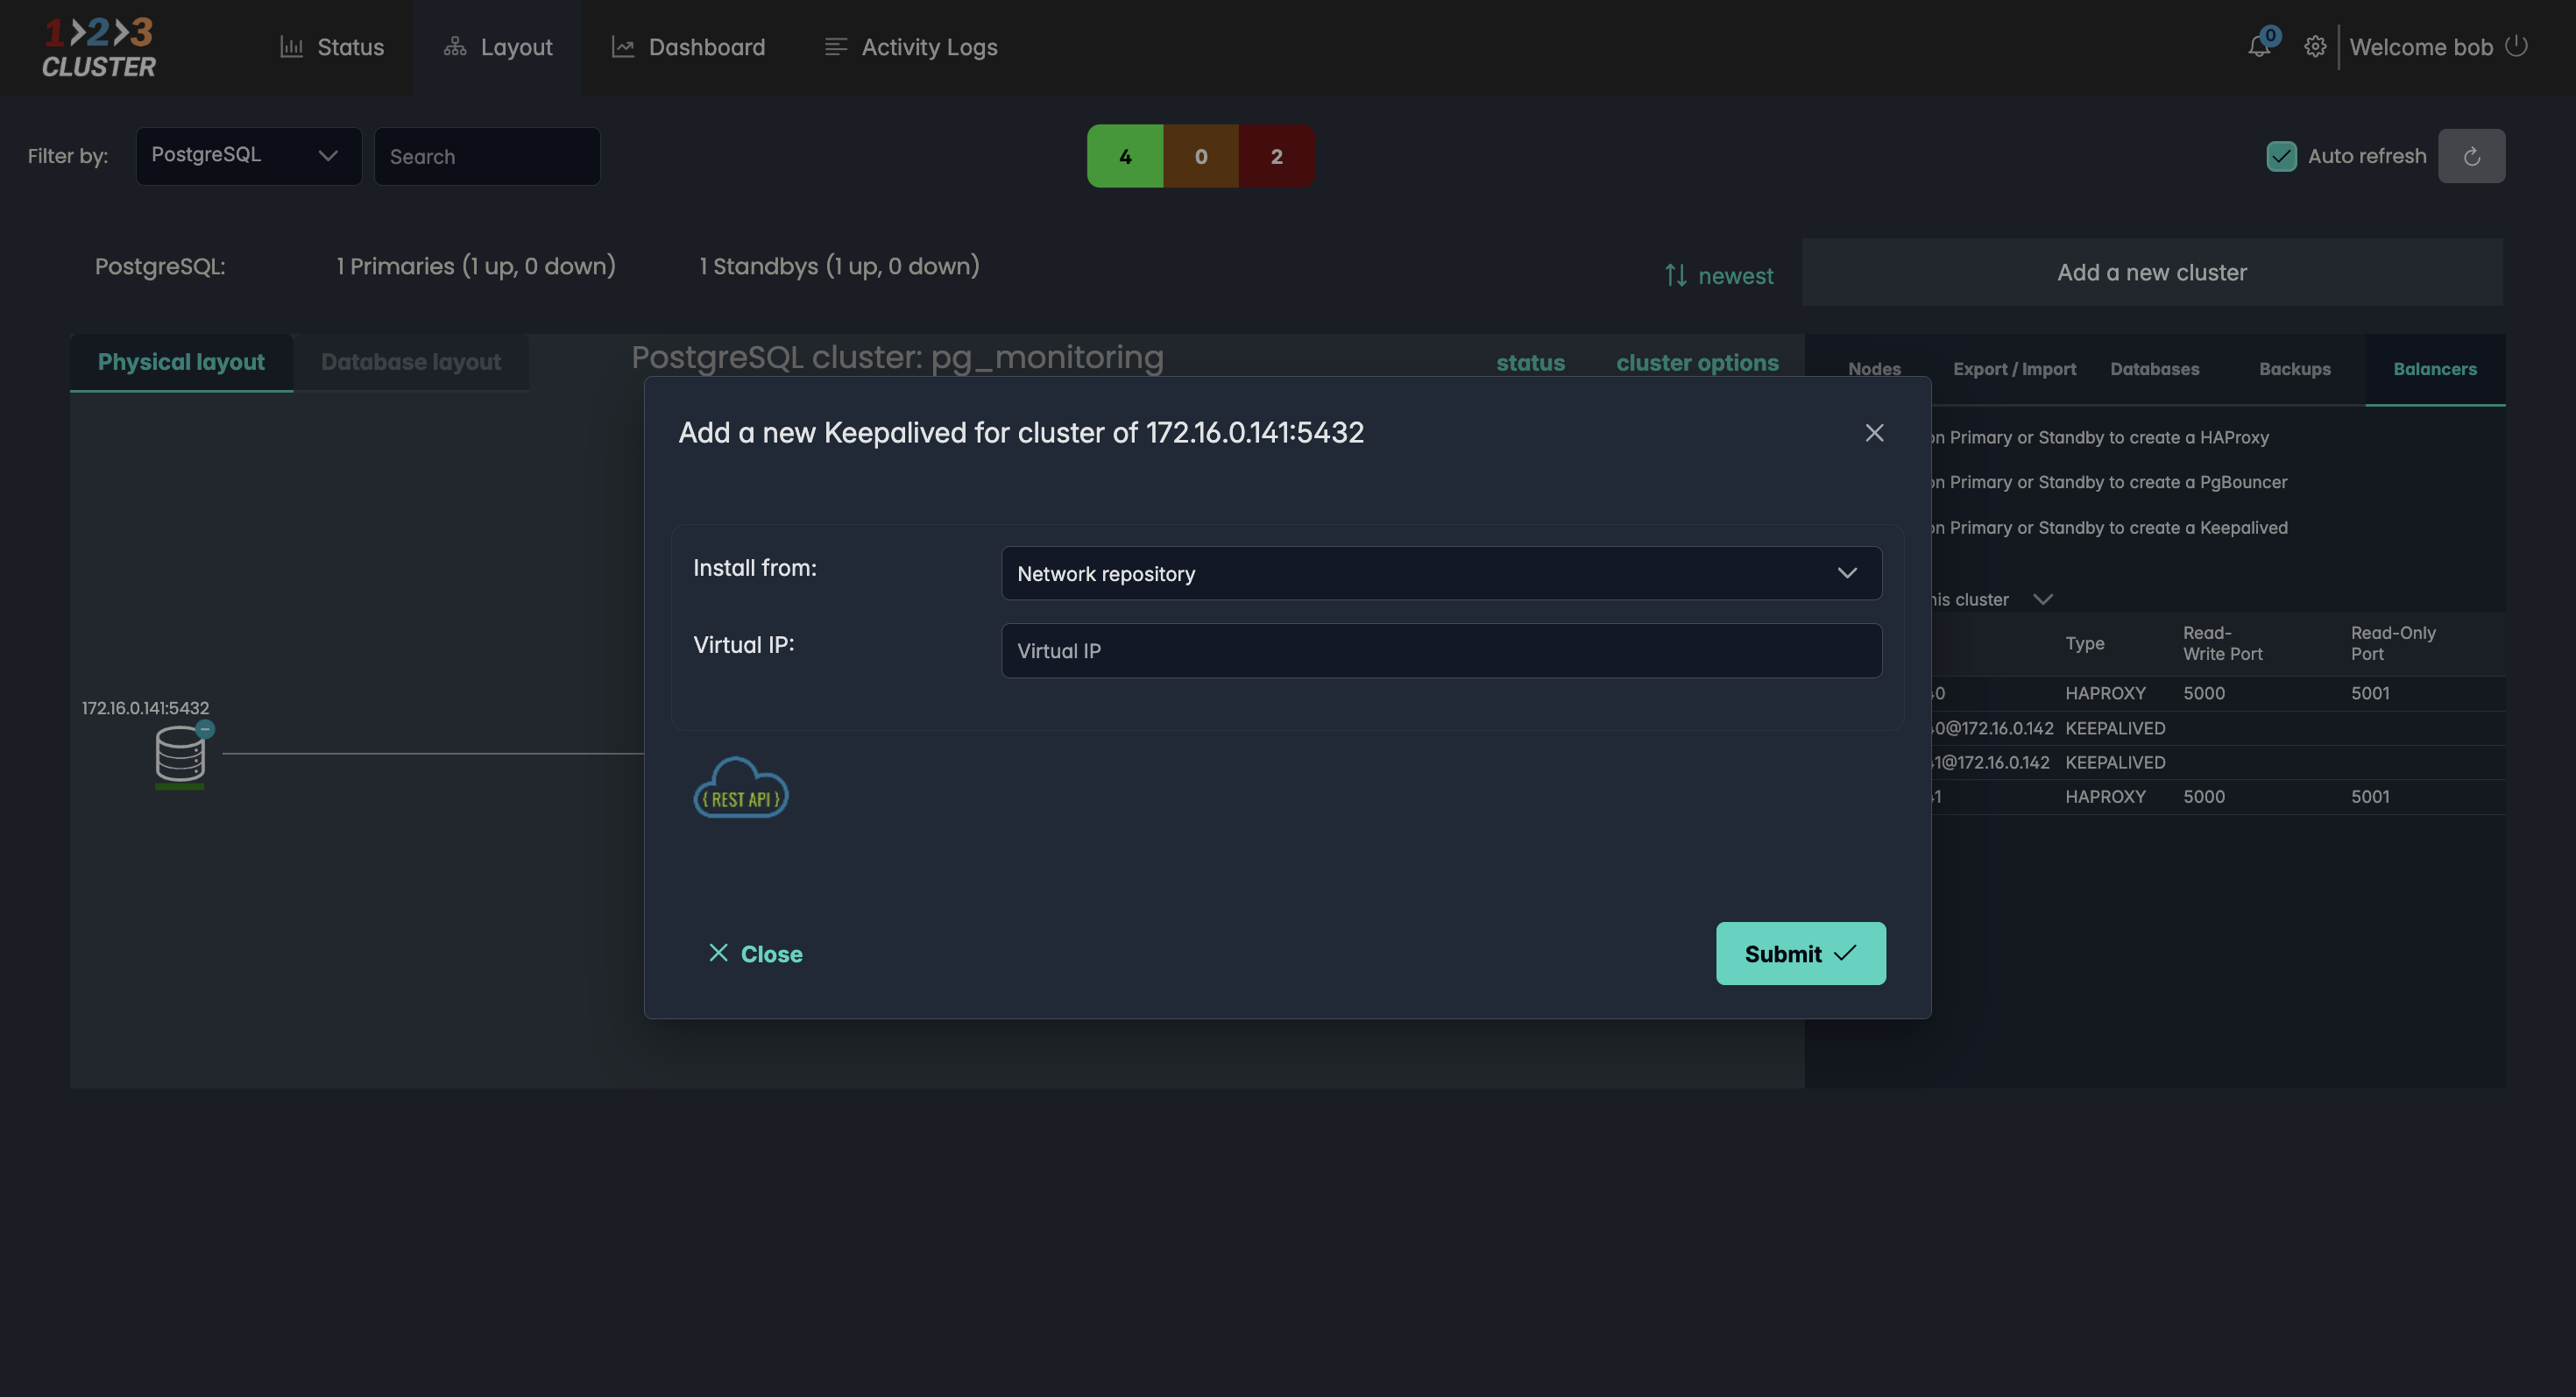
Make your adjustments and select Submit to finalize your installation.
The status runner will indicate the progress of your Balancer creation.
.png)
Advanced features:
- PgBouncer → best for lightweight connection pooling.
- HAProxy → best for simple, fast, reliable failover and routing.
- Keepalived → best for all-in-one advanced features.
Your installation path will look like this: Inventory area → Balancers → Drag me icon → Primary node → All Clusters | One Node→ Add HAProxy | Add PgBouncer | Add Keepalived → Click Submit
